Migrate UserLock server to another machine
When you need to move UserLock from one server to another, follow this procedure to ensure a smooth migration. This guide covers installing UserLock on the new server, transferring configuration files, handling database settings, and cleaning up the old server.
You can only migrate UserLock to a server running the same or a newer Windows version.
If your goal is to upgrade UserLock, see Upgrade procedure instead.
Ensure you have the necessary permissions on both servers.
Run the UserLock installer.
Start the Configuration Wizard.
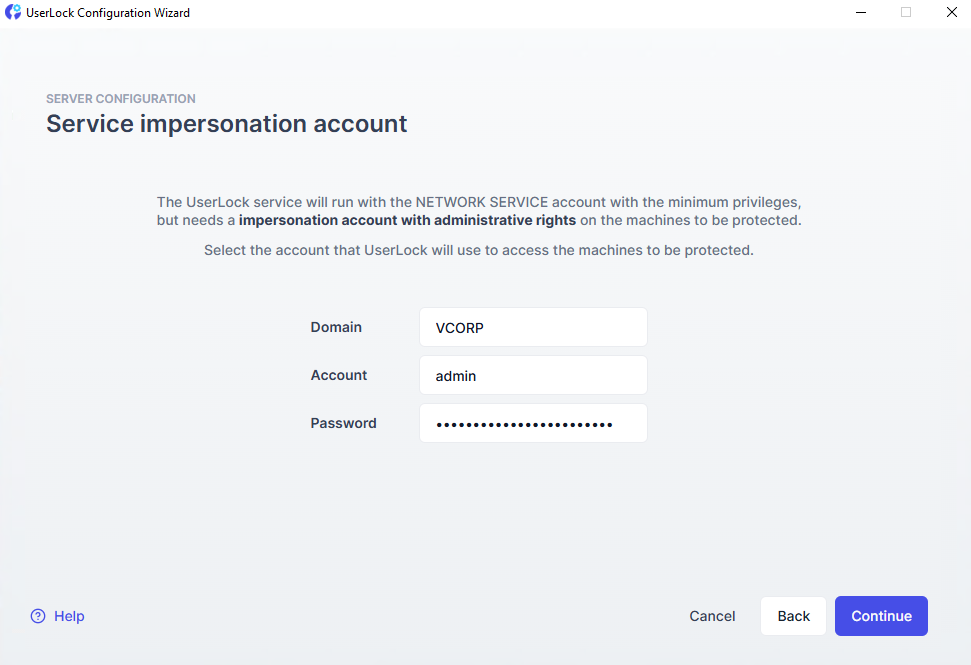
When you reach the Service impersonation account step, do not continue. Keep the wizard open in standby.
Stop the UserLock service on the old server (and backup server if configured).
Disable the service to avoid conflicts.
Copy the folder from the old server to the new server:
%ALLUSERSPROFILE%\ISDecisions\UserLock
Click Next in the UserLock Configuration wizard on the new server to complete setup. The service starts automatically.
Uninstall UserLock from the old server, or at least keep the service disabled.
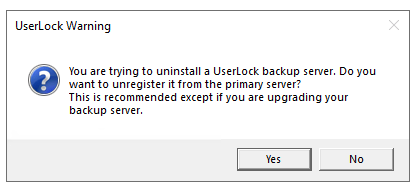
For backup servers, if prompted with a popup, click No.
When launching the UserLock Console on the new server, you may see an alert: Conflicting installation detected.
This is normal during migration. To clear it permanently:
Ensure all computers in the Network Zone are online.
Wait until all agents in the Environment ▸ Machines are updated with the new server name (check the Last check time column).
The warning will disappear once agents are updated
Re-enter your license serial number in the UserLock Console under Server Properties ▸ License.
If using a custom database, update the Database section in Server Properties ▸ Database.
For backup servers:
On the primary UserLock server, run this command in UlTerm (press ALT+F6 in the UserLock console):
backupserver del <old_backup_server_name>On the backup server, launch the Config Wizard and enter the new primary server name when prompted.
