Deploying the IIS agent
Learn how to install, configure, and manage the UserLock IIS agent to protect IIS web applications and monitor user sessions.
Useful resources
The UserLock IIS agent allows UserLock to monitor, control, and enforce access policies on IIS (Internet Information Services) sessions.
It enables session tracking, multi-factor authentication (MFA) enforcement, and concurrent session control for web applications such as Outlook Web Access (OWA), RD Web, or SharePoint.
This guide explains how to manually install, configure, and maintain the IIS agent, as well as how to fine-tune its settings and known limitations.
You can install the IIS agent automatically from the UserLock console or manually on each IIS server.
💡️ The simplest way is to deploy the IIS agent directly from the UserLock console.
This automatically installs the correct module and registers it on the IIS server.
If you cannot deploy the IIS agent from the console, you can install it manually on each IIS server.
Copy and register the module
Copy the corresponding DLL file from the UserLock installation folder to any local directory on the IIS server (for example,
C:\Program Files\UserLock IIS Agent).Open an elevated Command Prompt (Run as Administrator).
Run the registration command matching your IIS server architecture:
IIS Server architecture
File to copy
Command to register
32-bit
UlHttpModule.dllregsvr32 [Path]\UlHttpModule.dll64-bit
UlHttpModule_x64.dllregsvr32 [Path]\UlHttpModule_x64.dll👉️ Replace
[Path]with the actual location where you copied the file.
Register communication settings
Create the following registry key to allow the IIS agent to communicate with the UserLock servers:
Registry path:
HKEY_LOCAL_MACHINE\SOFTWARE\ISDecisions\UserLock\IISKeys:
Value name
Type
Description
UserLockServer
REG_SZ
Name of the Primary UserLock server
UserLockServerBackup
REG_SZ
Name of the Backup UserLock server
Once the installation is complete, continue to configuration.
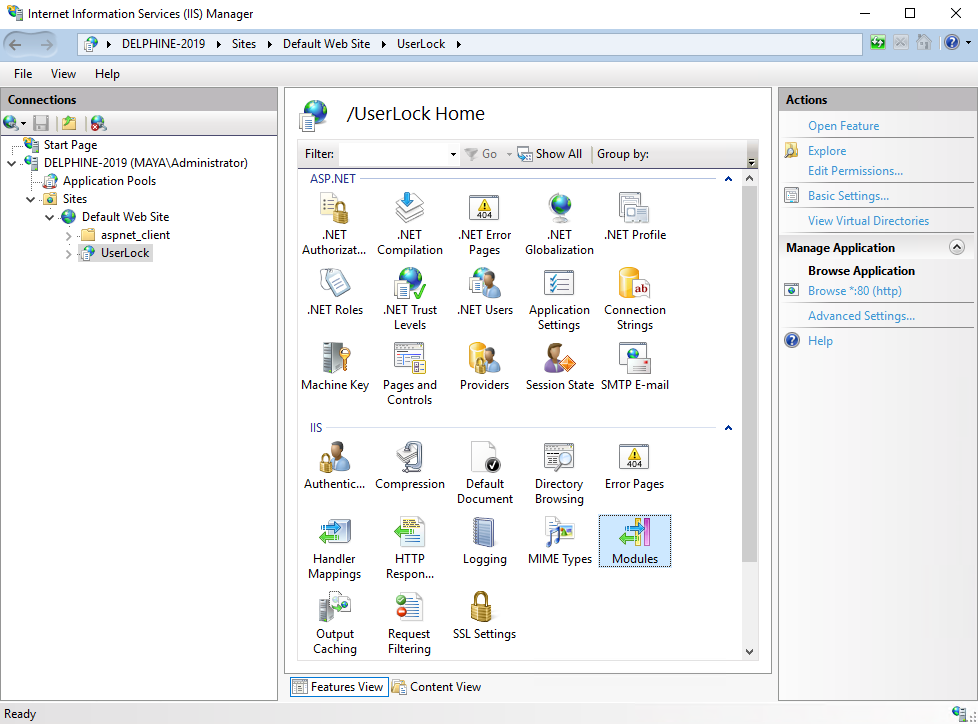
After deployment, configure the UserLock module within IIS Manager.
In IIS Manager, select the IIS server in the left pane.
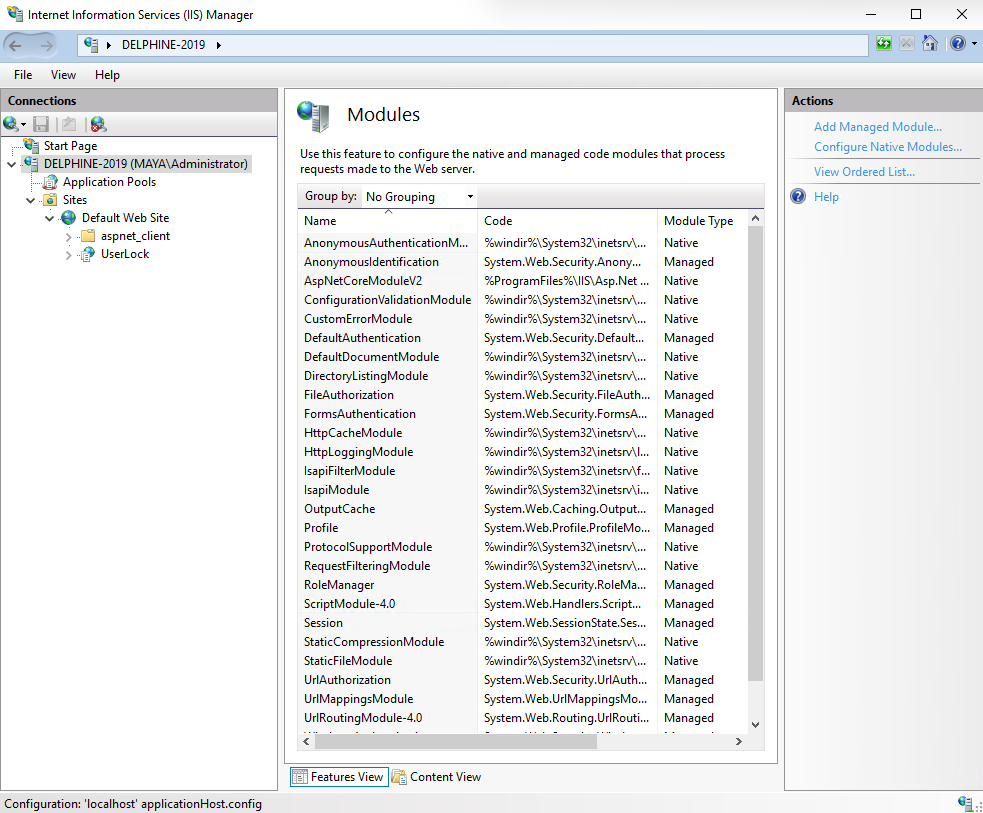
Open the Modules section.
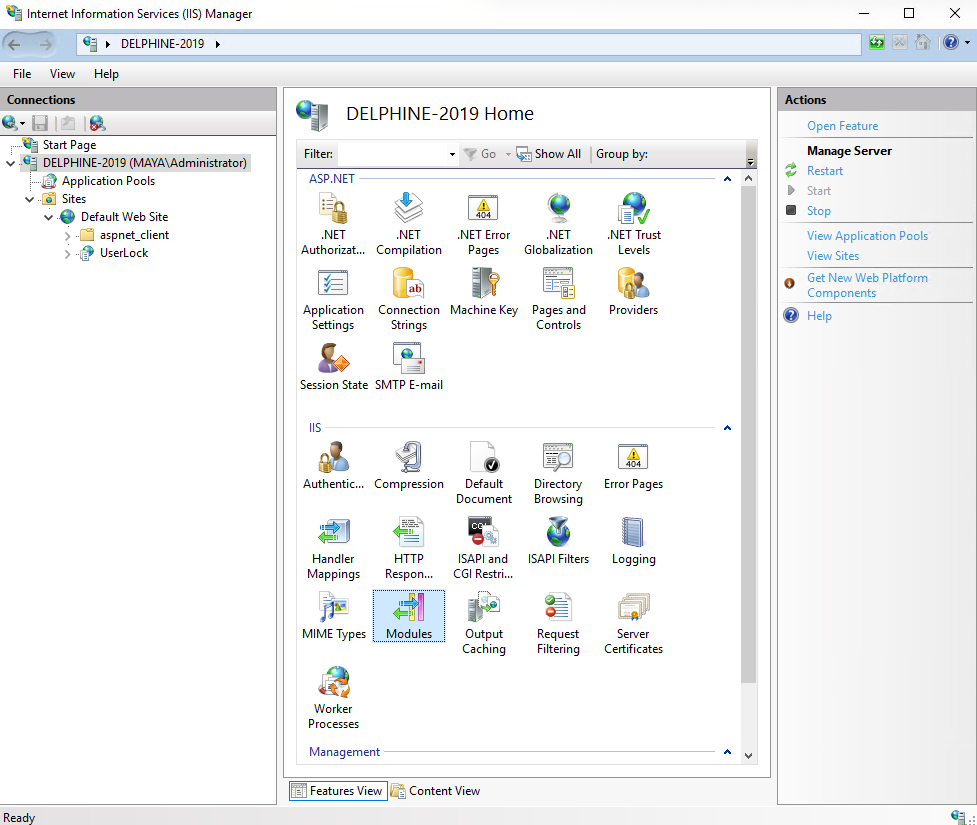
In the Actions panel, click Configure Native Modules….
Click Register, and browse to the
UlHttpModule.dllfile you copied.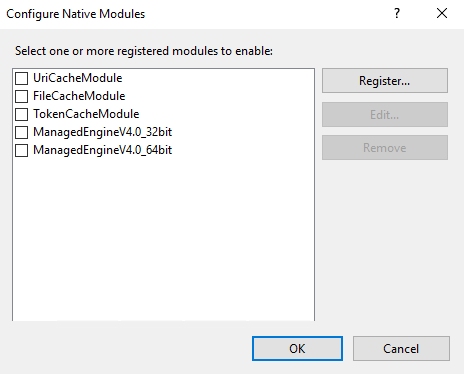
Default locations:
C:\Windows\System32(64-bit)C:\Windows\SysWOW64(32-bit)
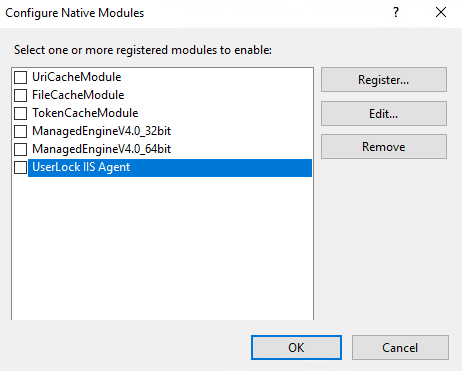
Click OK to add it to the module list.

Uncheck the UserLock IIS agent before closing the wizard — this prevents it from being enabled for all web applications.
In the left pane, select the web application you want to protect.
Open the Modules section.
Click Configure Native Modules… in the Actions panel.
Check the box next to UserLock IIS Agent, then click OK.
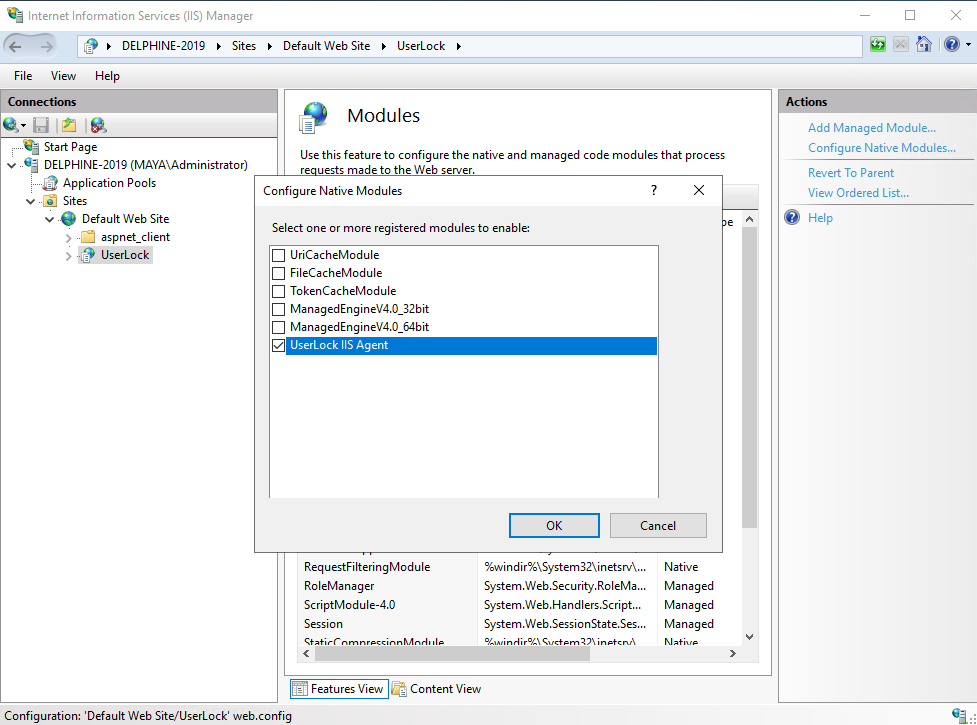
The IIS agent is now active for that specific application.
The default configuration is suitable for most environments.
Use these optional settings only if you wish to fine-tune the behavior of the IIS agent after installation.
By default, UserLock considers an IIS session closed after 5 minutes of inactivity.
To change this:
Create a new registry value (REG_DWORD) on the IIS server:
HKEY_LOCAL_MACHINE\SOFTWARE\ISDecisions\UserLock\IIS\SessionTimeoutSet the timeout value in minutes (for example,
10).Restart or recycle the IIS application pool.
Note
Setting a very short timeout may cause excessive logon/logoff events in UserLock.
By default, all IIS applications on a configured site are monitored. To restrict monitoring to certain application pools:
Create this registry key (REG_MULTI_SZ):
HKEY_LOCAL_MACHINE\SOFTWARE\ISDecisions\UserLock\IIS\ProtectedApplicationPoolsList the names of the application pools to supervise (one per line).
Example:
MSExchangeOWAAppPoolMSExchangeSyncAppPool
This configuration helps reduce noise on servers like Exchange, where many web applications share the same IIS site.
You can exclude built-in or diagnostic accounts (e.g., “Health Mailbox” accounts) from being tracked.
Create the following registry values under:HKEY_LOCAL_MACHINE\SOFTWARE\ISDecisions\UserLock\IIS
Value name | Type | Description |
|---|---|---|
IgnoredUsers | REG_MULTI_SZ | List of user accounts (e.g., |
IgnoredLocalUsers | REG_MULTI_SZ | List of local users to ignore for local requests |
IgnoredUsersPattern | REG_MULTI_SZ | Patterns with |
ProtectHealthmailboxSessions | REG_DWORD | Set to |
Restart the protected application pools after editing these values.
The IIS agent can protect applications using either Windows or Forms authentication.
By default, Windows authentication is enabled.
To enable Forms authentication mode:
Create the registry value (REG_DWORD):
HKEY_LOCAL_MACHINE\SOFTWARE\ISDecisions\UserLock\IIS\EnableFormsAuthenticationSet its value to
1.Restart or recycle the IIS application pool.
From the UserLock console, you can stop managing the IIS agent on a target server.
Important: This action does not unregister the module in IIS or remove files/registry entries on the server.
After using the console, you must complete the removal on each IIS server by following these steps.
Open IIS Manager.
For each web application where the UserLock IIS module is enabled:
Select the application.
Open Modules, and remove the UserLock IIS Agent entry.
At the server level, open Modules → Configure Native Modules…, select the UserLock IIS Agent, and click Unregister.
Apply the change (pick one):
No restart: delete the volatile key:
HKEY_LOCAL_MACHINE\SOFTWARE\ISDecisions\UserLock\IIS\VolatileOr restart the server the flush the volatile data
Clean the persistent configuration key :
HKEY_LOCAL_MACHINE\SOFTWARE\ISDecisions\UserLock\IISDelete the DLL files:
C:\Windows\System32\UlHttpModule.dllC:\Windows\SysWOW64\UlHttpModule.dll
Note
The Volatile key (or a restart) ensures IIS stops referencing the module immediately.
Then you remove the persistent configuration and the DLLs to complete the cleanup.
Browser close behavior:
If a user closes their browser without logging off, the session remains open until the timeout expires.Concurrent session control:
If concurrent IIS sessions are limited, a user may be blocked from reconnecting until the timeout elapses.Cookies:
Cookies must be enabled in browsers. Deleting them on exit helps ensure clean session closure.Session naming:
UserLock identifies sessions by IIS server name, web application, client IP address, and application pool.
Administrators can also close IIS sessions manually in the Activity ▸ Active sessions page of the UserLock console.